Utilizing the Immediate Window
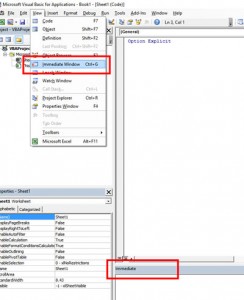
The immediate window is a console of sorts that allows the user to enter VBA code that can be directly evaluated or executed during the development or debugging process. It is useful for checking values and states at various points in the execution of a routine. It can also be used to manipulate the worksheet, select cells and move data. To display the Immediate Window, press Ctrl-G or click on View in the menu bar and select Immediate Window, as depicted in the image below. The immediate window will then appear at the bottom of your screen.
Echoing Debug Messages
At any point during the execution of a routine, such as a For/Next Loop, a Debug.Print command can be entered in the VBA code within the module the results will be returned to the Immediate Window. The following example will demonstrate how this works.
Create a new module and paste this code into it.
Sub MyLoop()
Debug.Print “Enter MyLoop”
Dim iCounter as Integer
For iCounter = 1 to 5
Debug.Print “iCounter=” & iCounter
Next iCounter
Debug.Print “Exit MyLoop”
End Sub
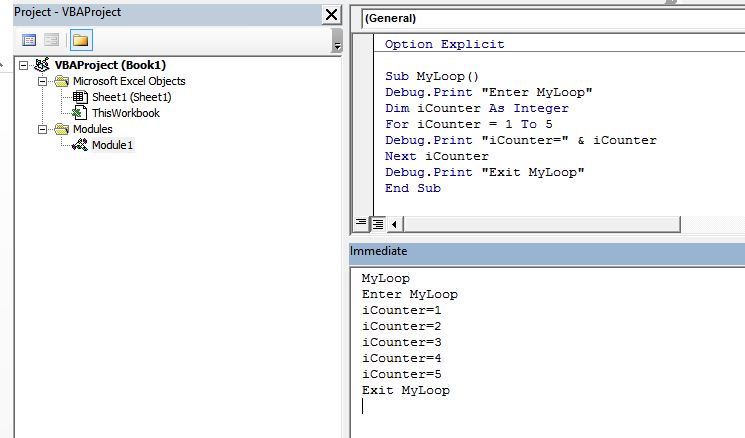
In the immediate window, type in MyLoop and press enter. MyLoop will execute and you should see debugging text in the immediate window, as shown below.
In this way, variables can be checked to see if their values are being set properly.
For a massive project, with hundreds of routines, having to manually enable and disable debugging text using the above technique can be cumbersome. The solution for this is to use a global flag that can quickly enable or disable all the Debug.Print commands. The example below will demonstrate this.
Let’s take the MyLoop sub and set a global flag to determine the level of debugging to be enabled. The global flag is set once, as follows:
Public Const DEBUG_LEVEL = 1
Sub MyLoop()
If DEBUG_LEVEL >=1 then Debug.Print “Enter MyLoop”
Dim iCounter as Integer
For iCounter = 1 to 5
If DEBUG_LEVEL >=2 then Debug.Print “iCounter : “ & iCounter
Next iCounter
If DEBUG_LEVEL >=1 then Debug.Print “Exit MyLoop”
End Sub
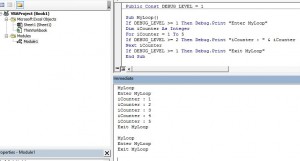
The first set of results with the debug level set to 2, Enter, Exit and the iCounter loop counter variable results are displayed in the immediate window.
The second set of results is with the debug level set to 1, only the prints for Enter and Exit MyLoop are displayed in the immediate window.
Selections and Content
Another power of the immediate window is to work with the current selected set of cells. In your use of Excel you may have the need to select a range of cells, modify it in some way, and then select another range of cells with the same pattern and modify it. This process may need to be repeated multiple times. Without utilizing the immediate window, each range would need to be manually selected. Using the Selection object in the immediate window can make this process more efficient.
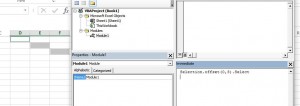
To select a range of cells with the same pattern, just 3 columns to the right, type the following into the immediate window and press enter.
Selection.offset(0,3).Select
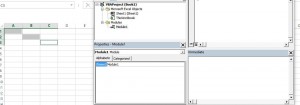
See below, the cells A1, B2 and C3 are selected.
By typing in Selection.offset(0,3).Select into the immediate window and pressing enter, we move the selection to C1, D2, E3 depicted below.
In addition to moving the selection, the values or formats of the cells can be changed from the immediate window, using the following command:
Selection.Value = # or “Some String”
This will assign that value to all the selected cells.
Nearly anything that can be done in a VBA module can be done in the immediate window, unless it requires multiple commands. In that instance, simply create a sub/function and call it from the immediate window.
