The holidays are usually a pretty busy affair for everyone, from shopping to parties to travel. However, when you manage a team at your business, it gets even harder. You need to keep up with all the days off and time-off requests of employees, while also making sure you have enough coverage for all the work responsibilities that need to be carried out. Fortunately, making a calendar in Excel is a great way to do this all in one convenient place.
Calendar Templates
It’s certainly possible to come up with your own Excel calendar from scratch, but using one of the pre-existing calendar templates is a smarter move.
- Launch Excel
- Select File
- Select New
- In the search field, type in the word ‘calendar’ and pick the magnifying glass to start your search.
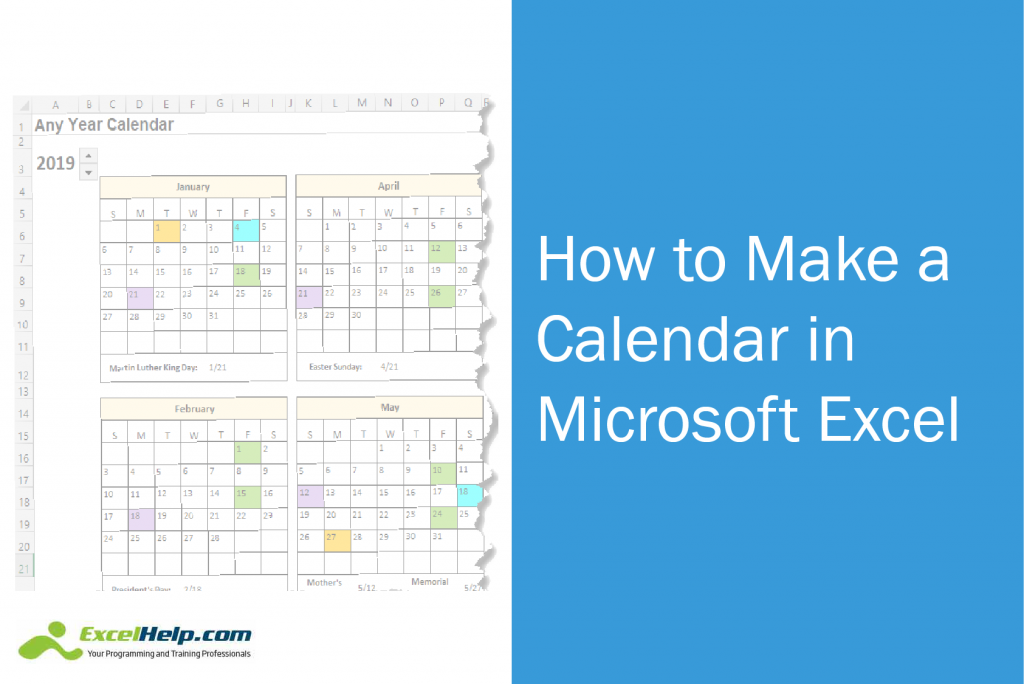
A number of possibilities will come up, and you are free to choose the particular style which suits your needs. If you’re not sure or just not that picky, just go with the ‘Any’ year calendar. Once you have picked one, click on Create.
Every calendar template features unique benefits. In this example, the Any year calendar permits you start a new day of the week or even a new year so you can customize your calendar. This is useful if your company’s work schedule doesn’t line up with normal calendars, as many places run schedules from Monday through Sunday instead of Sunday through Saturday.
Many templates do a month for each tab, so you only need as many tabs as months you are covering. You can also input your own starting days and number of days per month.
If you find a calendar template too limiting, make your own from scratch.
Creating a Custom Calendar
Open up Excel and then type each day of the week in the top row of the spreadsheet.
You’re aiming for a grid of seven columns in height and five rows across. These will provide you enough room for 31 days or less, based on the month you are scheduling for. Select the seven columns first, and then adjust the width of the first column to what you need. Follow suit by selecting the five rows and adjusting the height of the first row under your weekdays.
Next, you need day numbers. Highlight every cell in the five rows and seven columns. Right-click on any cell to choose Format Cells. Find the Text alignment section so you can set Vertical to Top and Horizontal to Right.
Look up what the first day of the month is going to be, in particular which day of the week, and label it appropriately. Then, follow through with the rest of the cells, numbering up to 28, 29, 20, or 31, depending on which month of the year you are doing.
If you need more months, just move on to the next tab and repeat this process.
You now have a convenient and central place to keep up with all time-off and vacation requests from your team members.