Azure functions can expand Microsoft Excel’s custom functions. It allows you to shift your regular code to the cloud. This will help to hide your codes from the browser. Apart from hiding codes, you can also select additional languages besides JavaScript. Azure functions also run with various Azure services like storage and messages. You can share these functions with your clients. But how will you integrate Microsoft Azure with an Excel function? Here’s what you should do.
Prerequisites
You need the following to set up the development environment:
- Down and install the Visual Studio Code.
- Install the latest version of Azure Functions Core Tools. The demo application does not have the latest features. Make sure you download and install the updated version.
- Install a C# extension. VS Code Extensions have many C# extensions. Use one that suits the Visual Studio Code.
- Down and install the latest Azure Functions extensions.
- Install .Net Core 2.2. Its latest version allows you to integrate Azure with Excel quickly.
Apart from these prerequisites, you will also require an Azure subscription. Additionally, you also need an Office 365 account. You can register in the Office 365 Developer Program. It provides a one-year free subscription.
Integrating Microsoft Azure with Excel
Follow the steps below to integrate Microsoft Azure with Excel.

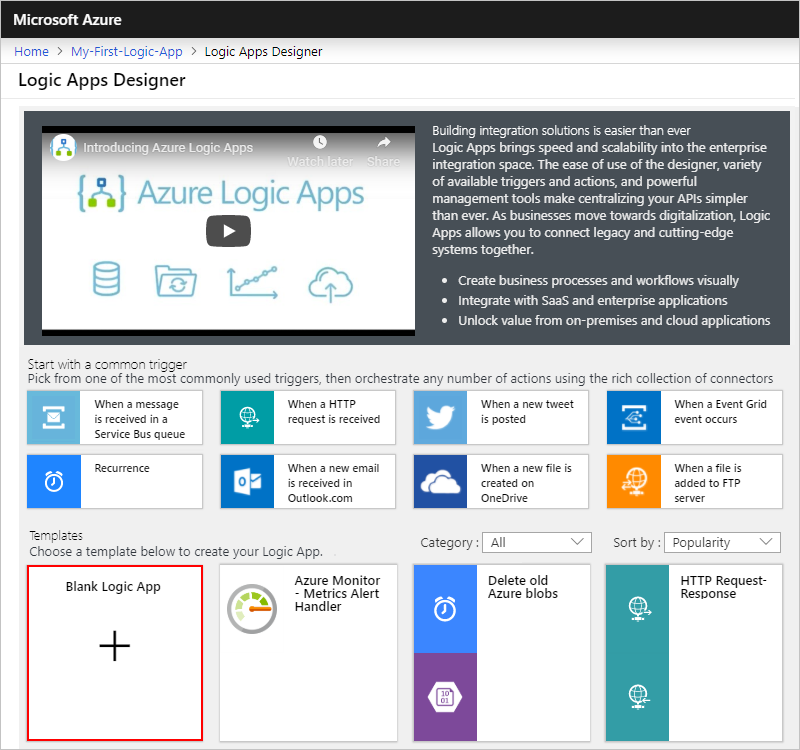
1. Go to the Azure portal. Find the Logic App Designer and open the logic app. Usually, it remains open. If not, you need to open it manually from the Logic App Designer.
2. Select Next Step from the trigger.
3. Remember, the Logic App Designer cannot load tables with more than 100 columns. Try to reduce the number of columns to make the design run smoothly.
4. The Logic App Designer will prompt you to sign up with your Office 365 account. Enter your credentials and hit Login. It helps create a connection between Excel Online and data accessing path.
5. Select one of the actions you want to integrate with Microsoft Azure. Continue providing necessary details to build the logic’s workflow.
For customized functions, you can open the Custom Function Project folder in Visual Studio Code. Use Ctrl + Shift + ` to run the command line. You can also use “$ npm run start” command to start Excel automatically and also sideload the custom functions.
Integrating Microsoft Azure with Excel is not challenging if you follow these steps. Most developers follow them to add customized functions.
